Remote desktop to Windows systems using Microsoft client on MacOS
If not installed already, download the Microsoft RDP client from the app store (search for Microsoft Remote Desktop).
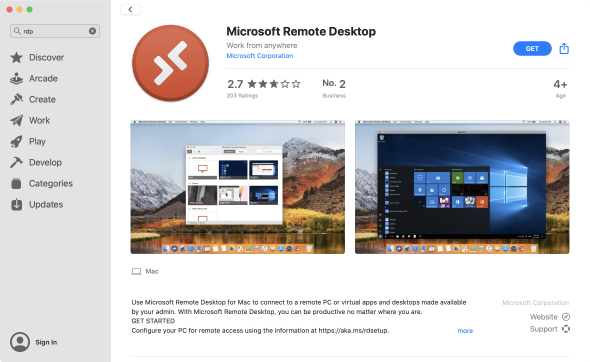
Note for admins - an installer can also be downloaded directly from Microsoft to avoid having to sign in to the app store. In this case the Microsoft update application should keep it up to date along with the Office apps
It will ask you for permission to use the microphone and camera. For basic use this is not required.
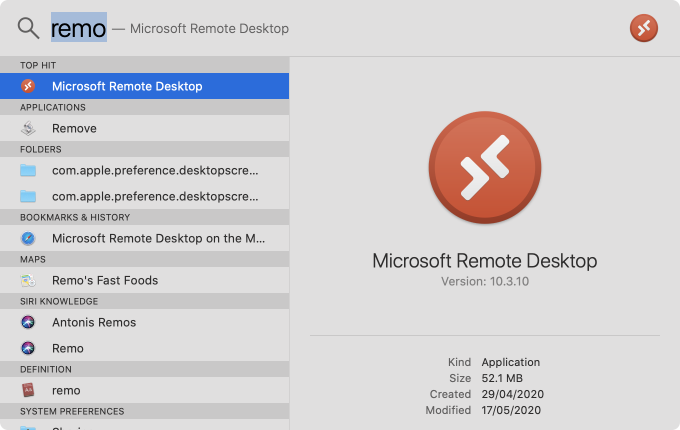
Search for remote to launch it, or pin it to the dock as usual.
Configuration §
Note: in this run through we create the user account and gateway details first before setting up the PC connection. You don't have to do it this way - it just makes it slightly easier to document.
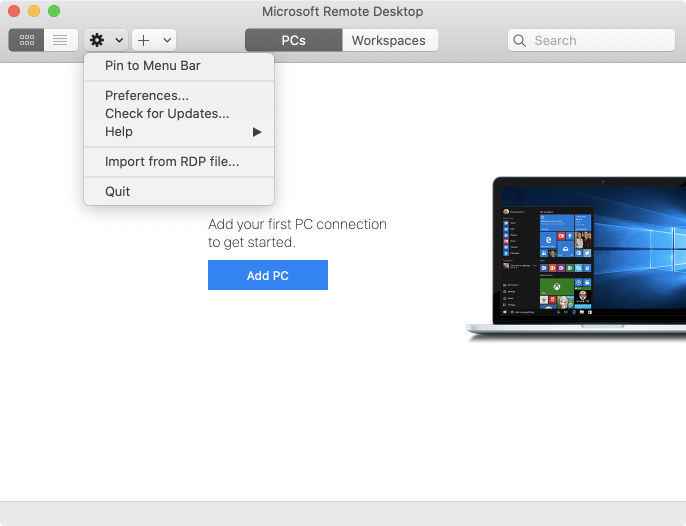
Run the RDP app and select Preferences from the settings menu.
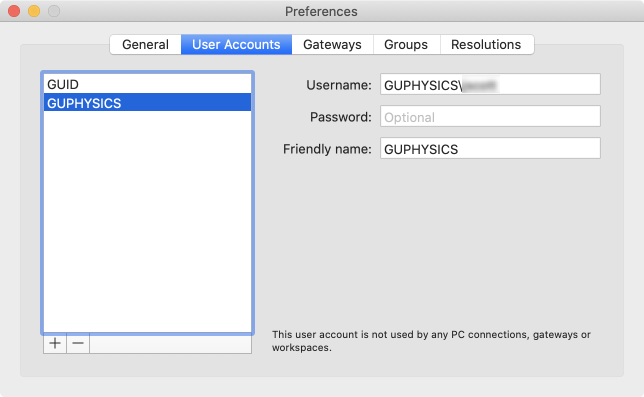
In the Preferences window choose the User Accounts tab and add a user (with the + button). Enter the user details. Note that for campus accounts the username can be in two forms - your email address, or CAMPUS\xxxxx (where xxxxx is the short form of your GUID). You can fill out the password, or leave it blank and enter it during the connection process. The friendly name can be anything you want, or left blank.
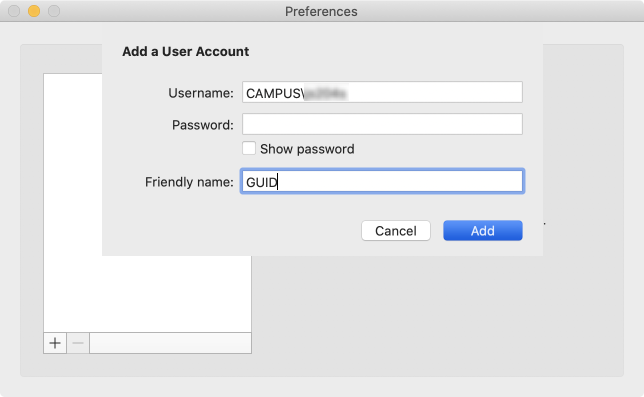
In this example we want to connect to an internal system using a GUPHYSICS user account. A second account is added with the relevant details. If you wanted to connect using a local machine account the username is in the form MACHINENAME\username.
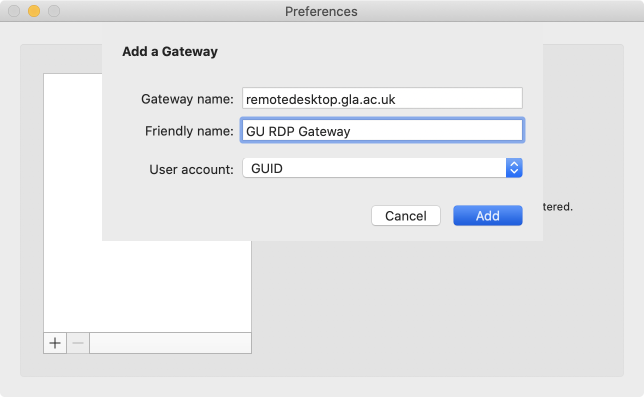
If you intend to use the RDP gateway system, choose the Gateways tab and create a new gateway. The address of the gateway server is remotedesktop.gla.ac.uk, and you need your GUID account for this.
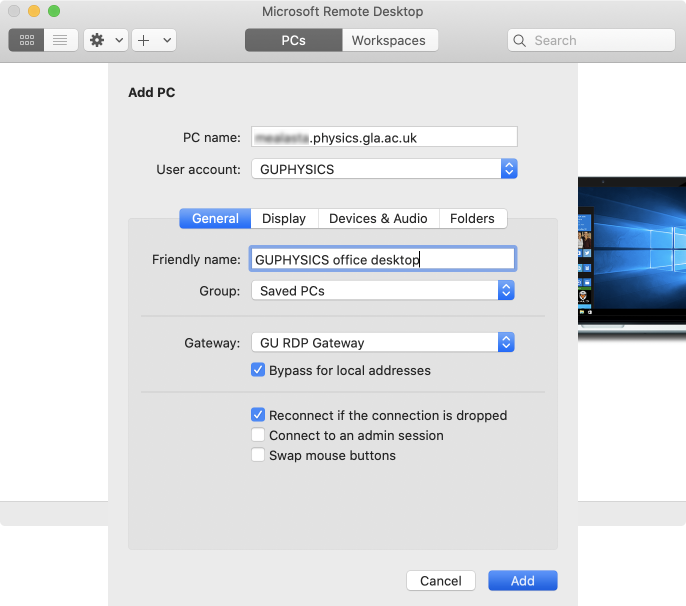
Close the Preferences window. We can now set up the actual connection to the target system. Add a PC (use the + button) and on the General tab enter the address of the system (machinename.physics.gla.ac.uk or machinename.astro.gla.ac.uk etc.), the user account for this system, and - if required - the gateway.
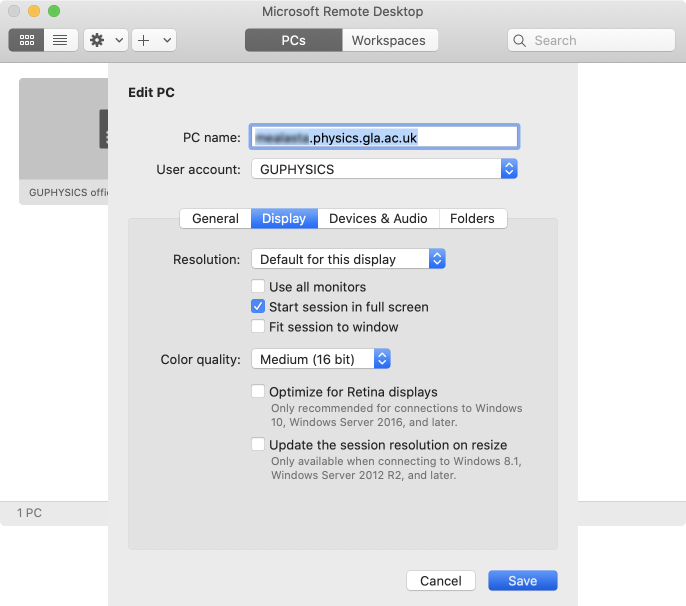
There are many other settings you can change to optimise the session for your requirements. One change that is almost always worth doing is changing the Color quality: to Medium (16 bit) - this halves the connection bandwidth usage.
Usage §
Once the connection is set up we can start it. It will first connect to the gateway (if configured), and then to the target system, stopping to ask you for passwords if you didn't enter them earlier. Don't get your accounts mixed up!
Note that when connecting to the target system you should get a certificate warning, as our Windows systems are not set up with globally trusted security certificates.

You should now see the desktop of the desired Windows system. Note that using the default connection settings this will take up the whole screen. Move the cursor to the top of the screen and the MacOS menu bar will appear, allowing you to resize or minimise the connection window.
